

Friday, March 22, 2013
Finally! Face #29
My final face in the 29 Faces Challenge! This is a sketch done on tissue paper with a Sharpie paint marker. I then adhered it over a Gelli print. I like the shading the underlying print gives to the face and, although not visible in the pic, I like the added texture provided by the tissue paper. This will become a journal page for sure and I will continue to add to this page.

Thursday, March 21, 2013
More Faces...#25-28
Well it took longer than I expected, but I was really committed to finishing the 29 Faces Challenge.
Here are four more faces completed over the past week. Just one more to go.
This is another Gelli print. I've always loved looking at the clouds to see what shapes I can see there so I was very excited when I was looking through my pages for the umpteenth time for pages that would fit on my mini-album and I saw a face in this one that I hadn't seen before. I love it when that happens...


This one I initially wanted to do a grey scale watercolour wash on it...ended up with a Smurfette LOL...I actually don't mind the blue shading...next challenge...work on lips...

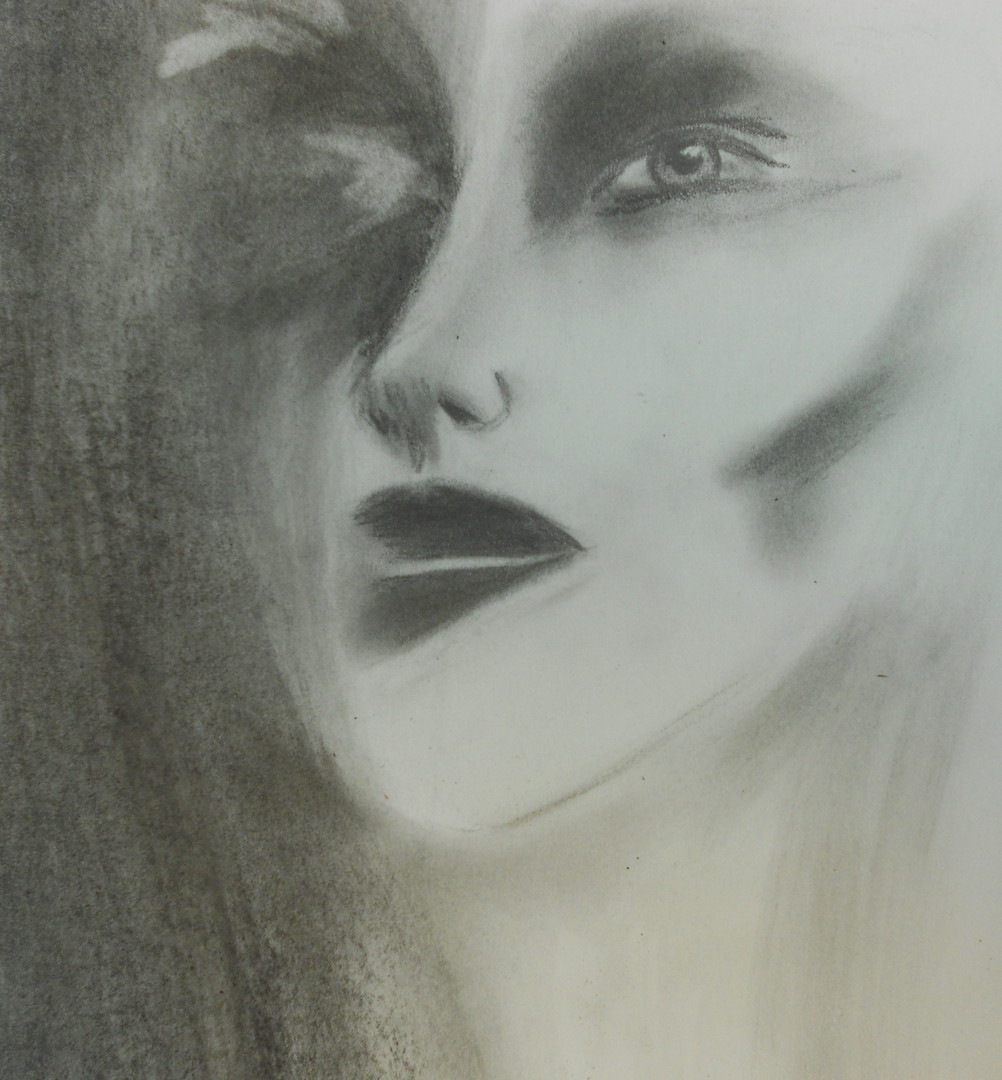
Two more sketches...the first with charcoal...kind of spooky...but there are parts of it that I like. The second one...a bit "wonky"...LOL


Here are four more faces completed over the past week. Just one more to go.
This is another Gelli print. I've always loved looking at the clouds to see what shapes I can see there so I was very excited when I was looking through my pages for the umpteenth time for pages that would fit on my mini-album and I saw a face in this one that I hadn't seen before. I love it when that happens...


This one I initially wanted to do a grey scale watercolour wash on it...ended up with a Smurfette LOL...I actually don't mind the blue shading...next challenge...work on lips...

Two more sketches...the first with charcoal...kind of spooky...but there are parts of it that I like. The second one...a bit "wonky"...LOL

Monday, March 18, 2013
Mini Gelli Print Journal
It's an addiction...you know it and I know it...the more I read from others that have a Gelli Plate, the more I realize that I am not alone...that we are all addicted LOL. But it is so much fun!
The papers add up though...piles and piles of them. I started to try to think of what I could do with all the pages I've been printing. I will definitely bind some to make an art journal or two so that I can have a journal full of already completed backgrounds that I can add to. This weekend I also started a couple of mini art journals...or maybe mini-albums. For one, I joined pre-made cards together with tape to form a multi-fold accordian card. I then covered the pages with Gelli prints cut to size. For the second one, I cut a 12x12 sheet of black cardstock in half and scored it at the 6" point to form a folded 6x6" card. I then joined 3 of these strips together, and again covered each 6x6 square with a Gelli print. I placed some ribbon in between the cardstock and printed papers for the front and back covers as well.


I added some circle and heart shapes cut from the papers I used to clean my brayer after spreading paint on my Gelli plate. Then I started adding things to the pages as they came to me....die cuts, markers, words, paint, etc.
This is still a work in progress, but here are some photos for now.


Saturday, March 9, 2013
Face #24 on a Gelli Print
I spent the afternoon with my good friend Sandy showing her how easy it was to use a Gelli Plate...and yes, just like the rest of us, she's addicted. Maybe not quite as much as me...yet...but it's only a matter of time. I left my spare Gelli Plate with her and know that it will sit on her table calling out to her until she sits back down and starts to think of patterns she could create.
I did this print this afternnon and tonight had a bit of time to finally add a face. #24 in the 29 Faces Challenge. I was doing really well keeping caught up until #22 LOL...but think for my first time participating in this challenge I didn't do too bad. I will finish the last 5 faces over the next week or so.
In the meantime...I kind of like this. I love the faces that Dina Wakely and Julie Balzer do so this is definitely influenced by them.

Sunday, March 3, 2013
Dollar Store Haul for Gelli Plate Fun
I have been having SO much fun with my Gelli Plate lately and it seems I am always on the lookout for interesting patterns that I might be able to use. Yesterday, I found myself wandering through a dollar store and local surplus store and examining just about everything for Gelli Plate potential LOL. And this is what I found...


A mat for the bottom of the tub...cool circles.
A mat for the bottom of the kitchen sink...great grid pattern.
A silicon pot holder...another grid pattern.
Flip flops...look at all the different patterns on the soles!
Silicone ice cube tray...almost a chevron pattern.
Slip prevention liner for rugs...great woven texture.
Silicone basting brush...dying to try this out!
Plastic wall decal - quite large but kind of cool.
Shelf liner...amazing pattern on this one.
Now let me show you what I did with them....I'm going to have a lot of fun with this as I add more layers to them.
Shelf liner with geometric stencil over top.

Bottom of child's flip flop

Bottom of man's flip flop.

Silicon Basting Brush (looks a bit like jelly fish).
 Non-slip Rug Liner.

The shelf liner after pressing onto the Gelli Plate.

Silicon pot holder / trivet.

Second print from the shelf liner pattern.


A mat for the bottom of the tub...cool circles.
A mat for the bottom of the kitchen sink...great grid pattern.
A silicon pot holder...another grid pattern.
Flip flops...look at all the different patterns on the soles!
Silicone ice cube tray...almost a chevron pattern.
Slip prevention liner for rugs...great woven texture.
Silicone basting brush...dying to try this out!
Plastic wall decal - quite large but kind of cool.
Shelf liner...amazing pattern on this one.
Now let me show you what I did with them....I'm going to have a lot of fun with this as I add more layers to them.
Shelf liner with geometric stencil over top.

Bottom of child's flip flop

Bottom of man's flip flop.

Silicon Basting Brush (looks a bit like jelly fish).


The shelf liner after pressing onto the Gelli Plate.

Silicon pot holder / trivet.

Second print from the shelf liner pattern.

And some more prints...my favourites turned out to be on the 4x6 cards.


Subscribe to:
Posts (Atom)